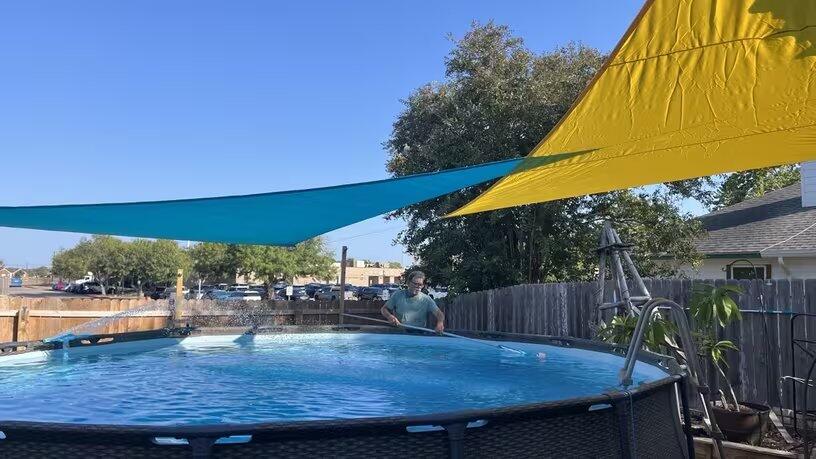
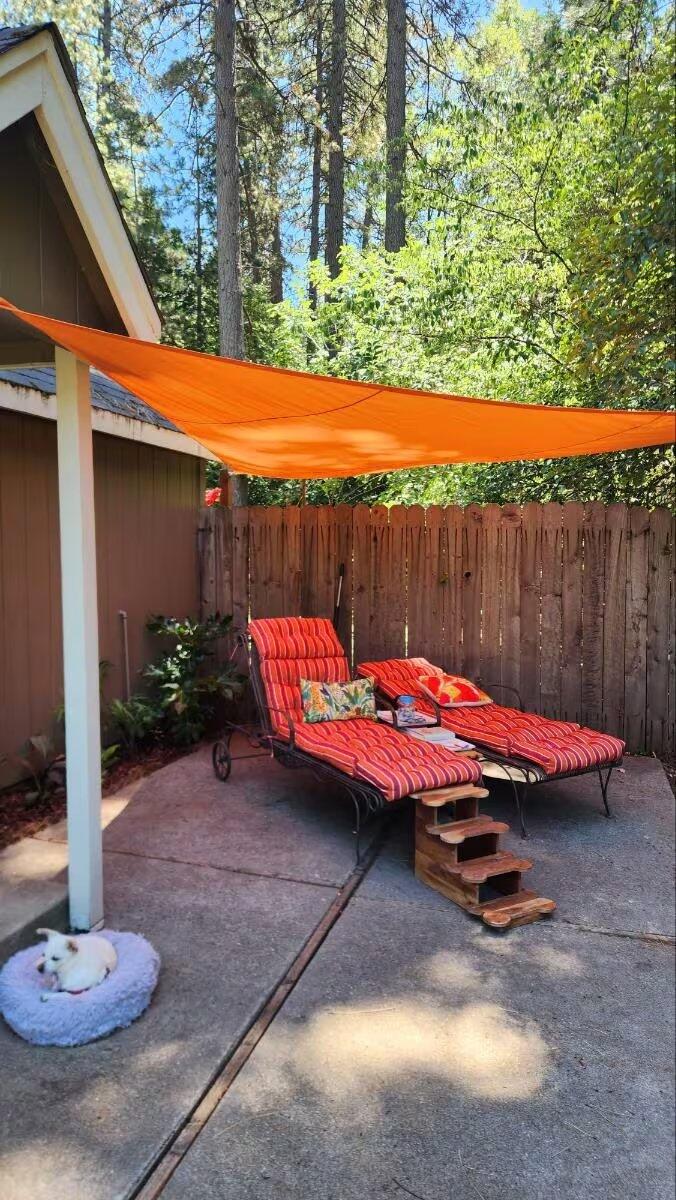
Quick answer: Never install a shade sail perfectly flat. Set one or two corners higher than the others so the sail has a slope. A waterproof sail needs a steeper slope, about 20–40°, so rain runs off instead of pooling. Breathable sails can be flatter because rain passes through them.
The angle of a shade sail changes how it looks, how it handles rain and how well it stays tight. A flat sail tends to sag in the middle, and a flat waterproof sail collects water. Here is how to plan the slope and the corner heights.

Breathable vs waterproof: how much slope?
| Breathable sail | Waterproof sail | |
|---|---|---|
| Fabric | Knitted HDPE (Standard, Super Ring, Pro Ring) | 220 GSM PU-coated polyester (Waterproof) |
| Rain | Passes through the knit, so it never pools | Sheds off the low corner |
| Recommended slope | A gentle slope or twist for a tight, sag-free sail | About 20–40° |
| Wind | Air passes through, lower wind load | Not recommended for high-wind locations |
Three ways to set the corners

- One side high, one side low: mount two corners on the house wall and two lower on posts. Simple, and it gives a clean slope for runoff. A good choice for waterproof sails.
- Twisted (hypar): set opposite corners high and the other two low. The twist pulls the fabric into a saddle shape that resists sagging and flapping, and looks great on square and rectangle sails.
- One high corner on a triangle: lift one corner of a triangle sail. Overlapping two or three triangles at different heights also adds depth.
Plan the low corner
On a waterproof sail, all the rain from the sail runs to the lowest corner or edge. Plan where that water lands: aim it at a lawn, garden bed or drain, not at a doorway, seating area or the house foundation. Keep the low corner high enough to walk under if it is near a path.

Tension: the other half of the job

- Leave 0.5–1.5 ft between each sail corner and its mounting point so there is room to tighten.
- Connect each corner, then tighten the turnbuckles evenly, working diagonally across the sail.
- The sail should be tight enough that it does not flap or sag. ShadeMart sails have curved edges that help pull the center taut.
- Check and re-tighten after the first few days and after storms. Fabric relaxes slightly at first.
Need parts? See our shade sail hardware guide or shop hardware kits.
Frequently asked questions
Why does my shade sail sag in the middle?
Usually because it is too flat or not tight enough. Add more height difference between the corners and tighten the turnbuckles evenly.
Can I install a waterproof sail flat?
No. A flat waterproof sail will collect water, and the weight can stretch the fabric and strain the hardware. Always give it a slope of about 20–40°.
Should I take my sail down in bad weather?
Shade sails are not designed to carry snow, and strong storms put heavy loads on the anchors. Taking the sail down before severe weather and over winter helps it last longer. Carabiners make this quick.
What size sail do I need?
Measure between your anchor points, then subtract room for hardware. Read standard size or custom size, or order a custom sail, made to order in 1–3 business days and shipped within 3–7 business days.